
I have been, or can be if you click on a link and make a purchase, compensated via a cash payment, gift, or something else of value for writing this post. As an Amazon Associate, I earn from qualifying purchases. Please read my full Affiliate Disclosure for more information.
Ever walked into a room and it just sounds… off? Like you are yelling into a tin can. Evaluating acoustics in a furnished space starts with quick measurements. We’re talking about things like reverberation time, that annoying background noise, and how clear things sound. You need to find those spots where the sound bounces around like a pinball machine. Also, those flutter zones, where it sounds like a bird got trapped in the walls. After that, we grab some budget-friendly dampening. Think of it like throwing a blanket over a screaming kid. We’ll add some sound absorbers in those hot spots, spread out some surfaces, and maybe even use some modular panels or dense fabrics with a good backing. We’ll tailor these tweaks for living rooms, offices, and even your media setup. The goal is to make sure you can actually hear what people are saying, and your room doesn’t sound like a cave. These proven steps will guide you towards some deeper, actionable insights. Think of it as a DIY sound doctor.
Key Takeaways
- First up, figure out what’s messing with your ears. Is it too much echo. Too many reflections. Maybe just a lot of background noise.
- You need some quick numbers like RT60, noise floor, and clarity. It’s like checking the oil and tire pressure on your car.
- Take a good look at your surfaces. Put those sound absorbers where the sound is hitting the hardest.
- Look, we are not made of money. So, cheap is good. Think mineral wool, thick fabrics, or even some DIY panels.
- Every room is different. A living room needs one thing, an office another, and your media room a whole different ballgame.
Understanding Room Acoustics: Key Concepts for Furnished Spaces
Understanding how your room sounds is all about figuring out how sound acts in furnished spaces. We’re talking about reflections, where the sound bounces off walls like a superball. We also have absorption, where your comfy couch eats some of that sound. Then there’s diffusion, which is like scattering the sound so it doesn’t all hit you at once. Lastly, standing waves are those weird spots where the sound gets all jumbled up, creating annoying hot spots or dead zones. You see how different surfaces mess with the sound’s energy. Acoustic reflection sends sound in different directions. Sound absorption soaks up that echo-y energy. Diffusion spreads out the sound waves to avoid those annoying focal echoes. Standing waves can create frequency hotspots or nulls if you just let them do their own thing. You should really think about what your stuff is made of, the shape of your room, and what you’ve got on the walls. This all plays a part in how sound behaves. By really looking at how sound gets absorbed and reflected, you can tell how well you’ll hear conversations. You can also tell how big the room sounds and if your bass is all messed up. This helps you make smart choices for dampening your furnished space. It is like tuning a guitar, but for your entire room.
Quick Measurements: Reverberation Time, Background Noise, and Clarity
Okay, reverberation time, that sneaky background noise, and how clear everything sounds. These are the big three when you are trying to figure out what’s going on in your room. You’ll need to do some quick, objective measurements. This lets you compare your room now to what it could be. Think of it like a before-and-after photo, but for sound. You use a standard sound signal and a fancy microphone to catch those decay curves and SPL levels. This helps make sure your results are always on point. Focus on sound absorption, because that’s the main thing that changes how long those echoes hang around. Use some acoustic calibration to turn your numbers into real-world goals. Write down those RT60 estimates, your background noise levels, and how well you can understand speech. This helps you figure out what to fix without making things too complicated. It is like getting a clear diagnosis from your sound doctor without needing a medical degree.
Spotting Problem Areas: Common Echoes and Flutter Issues
Spotting those problem areas is all about finding where the sound is messing with your ears. You’re looking for echoes that make speech sound like it’s coming from a tunnel. We call these echo hotspots, and they usually pop up near flat walls, big open surfaces, or a hard wall far away. You need to pay attention to when those reflections hit your ears. If they come in too quickly after the direct sound, it makes everything muddy. Flutter zones are like a rapid-fire echo, often caused by two small, opposing surfaces. It is like a tiny drum solo happening in your room without your permission. You can find these spots by just making some noise and listening. Specifically, listen for that sustained flutter in the mid to high frequencies. If you put some sound-absorbing or diffusing stuff in the right places, you can knock out both those echo hotspots and flutter zones. It is like putting a muzzle on an annoying dog.
Materials and Decor: Budget-Friendly Sound-Dampening Options
You can totally make your room sound better without emptying your wallet. It is all about picking smart materials and decorations that help with absorption, diffusion, and boundary diffusion. We want to improve your room’s acoustics without breaking the bank, so we’re looking at cheap fixes. You can even do some DIY solutions. Think about taking some perforated panels or thick fabrics and putting some stiff backing behind them. This creates a good change in how the sound moves. Look for inexpensive stuff like mineral wool, recycled cotton, or foam panels. Just make sure they meet fire safety standards if you need them to. Put your sound-absorbing items in those reflection hotspots and keep them away from corners. You want to mix diffusers and absorbers to make sure things sound clear and warm. All while keeping your room looking good and your bank account happy. It is like making a five-star meal with dollar-store ingredients.
Practical Tweaks for Different Rooms: Living Rooms, Offices, and Media Setups
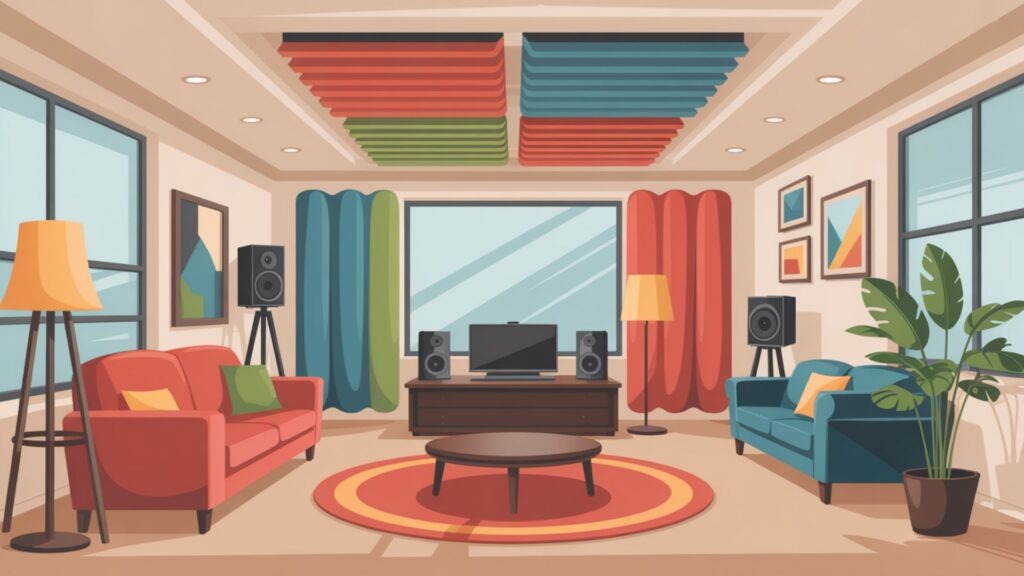
When you’re trying to fix the sound in different rooms, you’ve got to think about what each room is for. Living rooms need a good mix of absorption and diffusion. You want to make sure you can hear conversations without the room sounding totally dead. Offices need to be good for working, so you’re looking at things to block out noise and keep distractions down. Media rooms, though, they’re a whole different animal. You need specific absorption and low-reflection surfaces so you can actually hear the movie dialogue and feel like you’re in a cinema. In reality, you’ll be using targeted acoustic treatment. This means modular panels, bass traps for that low rumble, and maybe even some ceiling clouds. You can also use soundproofing techniques to keep outside noise out. Seal up those gaps and improve the STC if you can. Measure those reflections and move things around until you get the best speech intelligibility and overall comfort. It is like tailoring a suit, but for your room’s sound.
Conclusion
You have now learned how to evaluate acoustics in your furnished spaces using practical, measurement-based steps. By estimating reverberation time, listening for that pesky background noise, and making sure things sound clear, you can find those annoying echo and flutter problems. Now, go apply some budget-friendly dampening with smart materials and decor. Then, tailor those tweaks for your living room, office, or media setup. With good detective work and targeted treatments, your room will sound balanced. This means you can actually talk to people, focus on your work, and enjoy your movies without feeling like you’re in a cavern. And your room will still look good. Who knew sound science could be so practical.
Leave a Reply